How to configure SchuCal to work in network?
By default SchuCal works in local configuration, saving all user profiles, projects, settings and templates on local drive. If you want to share this content over the network you should configure SchuCal to work in network mode.
To do that first it is necessary to prepare network shared folder on the server and grant network user rights allowing to open, create and save changes. IT person responsible for network structure may be necessary to do that. Typical path should look like this: \\server\schucal , where \\server is server name and \schucal is shared folder on the server.
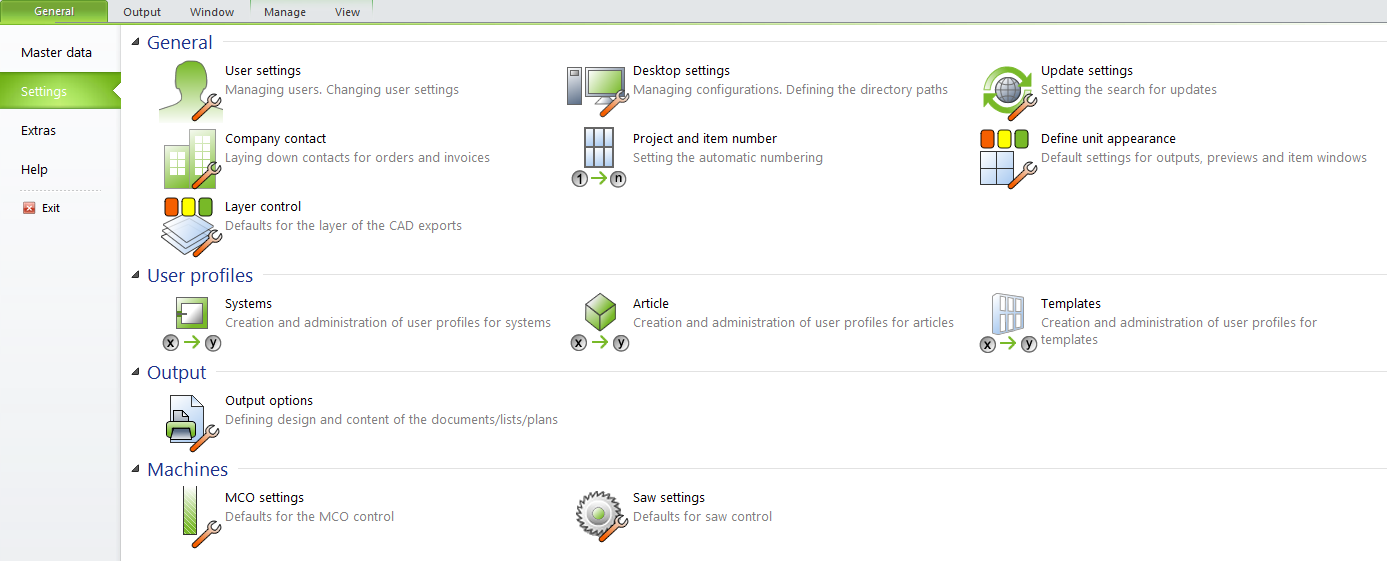
Next go to Desktop Settings under General > Settings.
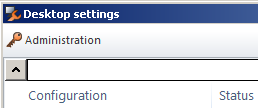
Enable Administration feature:
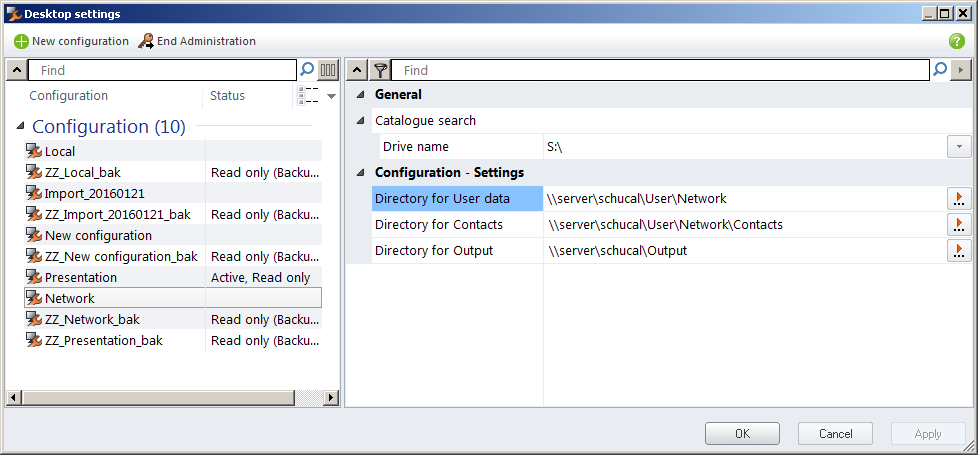
Add new configuration, name it e.x. Network.
Edit “Directory for user data” with previously prepared server shared directory, e.x.: \\server\schucal. Make same changes for “Directory for Contacts” and “Directory for Output” subdirectories.
Confirm changes and restart SchuCal.
On start window select newly created profile: Network

Go to General > Settings > User Profile:
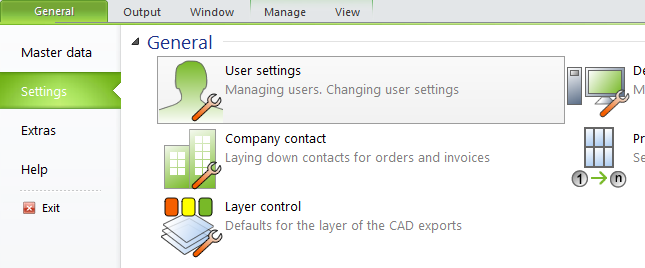
Enable Administration:
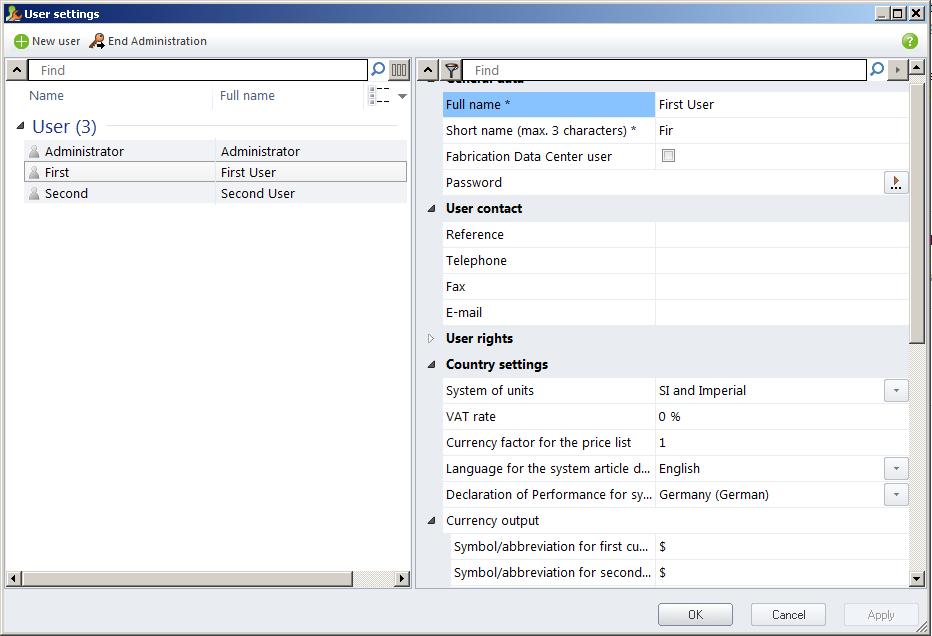
Create users by clicking “New user” button.
Set up name, password, language and currency conversion rate for each:
Save changes and provide new login and password data to your users. Since now they should start SchuCal and login to their account instead of built in Administrator.
Now all users will work on same project database, using same settings and templates.
If you created network configuration after working on SchuCal on local configuration, you should move your projects and to new specified server location.
Copy all content of local project directory:
C:\ProgramData\Schueco\SchueCal\User\Local\Projects
To new server location:
\\server\schucal\User\Network\Projects
Now every user working with SchuCal should see the same project library.